REQUIREMENT
Equipment:
Download and Install Required
Software:
Go to Hello, Ladybug website (https://roboforce.com.my/helloladybug/)
Download
and install mBlock 3 on your computer
Download
the Ladybug extension from the website and add the Ladybug extension to mBlock 3.
(instructions is provided on the Hello, LadyBug website.)
Assemble Your LadyBug
:
The assembly instructions is provided on the Hello, LadyBug
website.
Welcome! This tutorial in particular is not exactly related to LadyBug however it is a small preliminary tutorial before the next upcoming tutorials related with LadyBug and Arduino IDE. Yes, you read that right. We will start learning how to code the Arduino using its very own Arduino IDE. This also means, you are recommended to go through all if not most of the tutorials that uses Mblock to understand the fundamental concepts from here on out! IF however you are already familiar with Arduino IDE, you are given the option to skip this tutorial and jump into any other tutorials that uses Arduino IDE! Without any more delays, let us begin!

Part 1 will teach you the basics which is to print a simple text onto the screen.
Part 2 will teach you how to print values from the LadyBug sensors onto the screen.
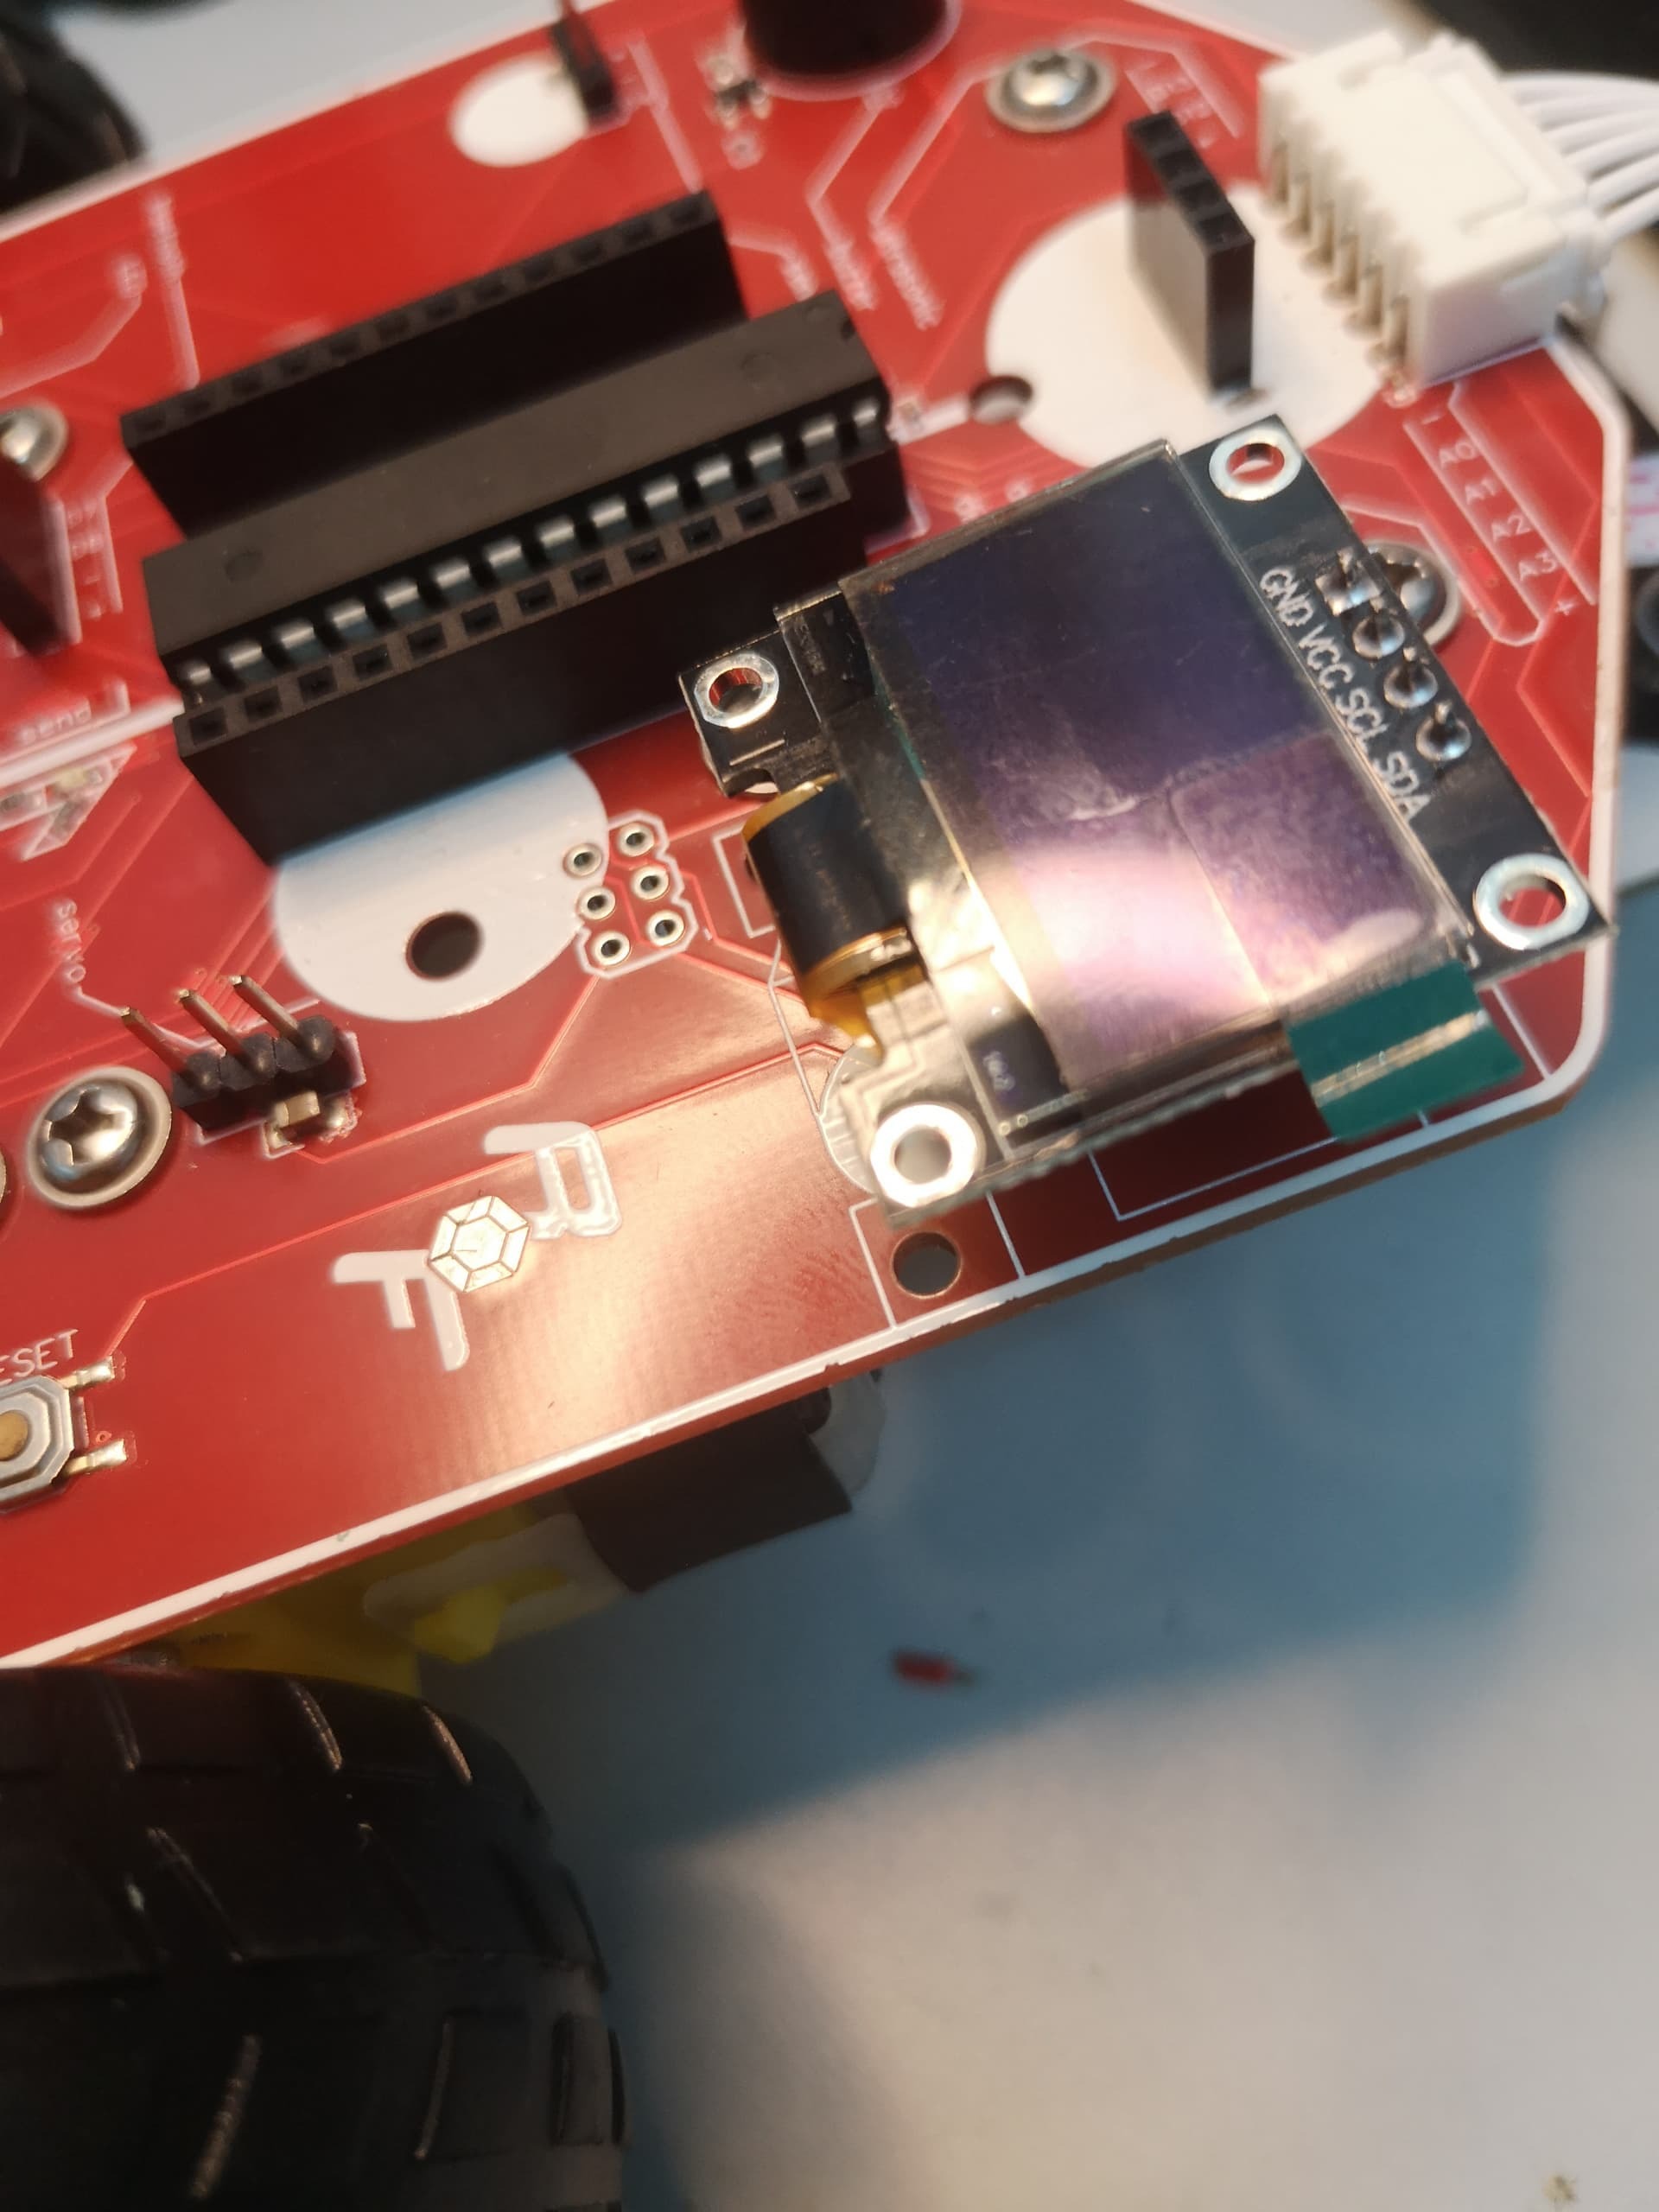
Part 3 will teach you how to print images you desire onto the screen.

Here is the snake game vresion 1 tutorial
creditted by: Alvin Chien, Hafiz and Yijing

Create your own flappy bird game using drag and drop block programming and control by using LadyBug Robot!
tutorial credited to Alvin Chien and Yi Jing

This is a course to let your ladybug sing its heart out! Be sure to have fun!

this is a tutorial about building line following robot